
Wood joinery is one of those skills that quietly defines the difference between something that’s simply assembled and something that’s truly built. Whether you’re crafting a cabinet or piecing together a small weekend project, the way two pieces of wood come together determines how your work looks and how long it lasts. Wood joining combines a blend of craftsmanship, technique, and an understanding of how the wood behaves.
Key Takeaways:
- Wood joinery is the process of connecting pieces of wood in ways that are strong, functional, and aesthetically pleasing.
- Common types like butt, lapped, mortise and tenon, housed, mitre, and dovetail offer different levels of strength and complexity for every project.
- Choosing the right joint, preparing surfaces properly, and understanding wood movement are essential to building durable, long-lasting pieces.
In this guide, we’ll break down the essential types of wood joints, how they compare in strength, and practical techniques that turn a basic connection into a durable one.
What Is Wood Joinery and Why It Matters in Woodworking

Wood joinery is the practice of connecting two pieces of wood in a way that creates structure, stability, and purpose. It goes beyond simply fastening boards together. Good joinery takes into account how wood naturally moves, how weight is distributed, and how the shape of a joint affects its strength. In many ways, it’s the quiet engineering behind every well-built piece.
Joinery matters because it directly shapes the quality and longevity of your work. Choose the right joint, and a project can handle years of use without loosening or warping. Choose the wrong one, and even a great design can fail under stress.
The Three Main Categories of Wood Joints
Before diving into individual joint types, it helps to understand that most wood joining methods fall into three broad categories.
1. Interlocking Joints
Interlocking joints rely on the shape of the wood itself to create strength. Instead of adhesives or hardware doing the heavy lifting, the geometry of the joint provides the stability. Interlocking joints shine in furniture making and fine woodworking, where precision matters.
2. Non-Interlocking Joints
Non-interlocking joints are simpler by design. They rely on surfaces meeting cleanly—flat to flat or edge to edge—without additional shaping to hold them together. These joints often need glue to perform well, but their simplicity makes them fast, efficient, and suitable for large-scale builds.
3. Mechanical and Reinforced Joints
Mechanical and reinforced joints use extra components—screws, nails, dowels, biscuits, brackets, or metal fasteners—to strengthen the connection. These joints are common in both DIY and professional construction because they offer reliability with less fuss.

Common Types of Wood Joints
Woodworkers have developed dozens of joinery methods over the centuries, but a handful stand out as the most useful and versatile.
Interlocking Joints
These joints rely on precision-cut geometry to lock pieces together.
Mortise and Tenon Joint

The mortise and tenon joint is often considered the gold standard of traditional woodworking. A protruding tenon fits into a matching mortise, creating a connection that’s mechanically sound even before glue is applied. The mortise and tenon joint excels in furniture frames, doors, tables, and chairs—anywhere strength and precision matter.
Dovetail Joint – Through, Half-Blind, Sliding

Dovetail joints are known for their interlocking wedge-shaped pins and tails, which resist pulling apart without any hardware. Through dovetails show the joint from both sides, half-blind dovetails hide it on one face, and sliding dovetails offer long-grain strength with easier assembly. You’ll often find dovetails in drawers, boxes, and fine furniture.
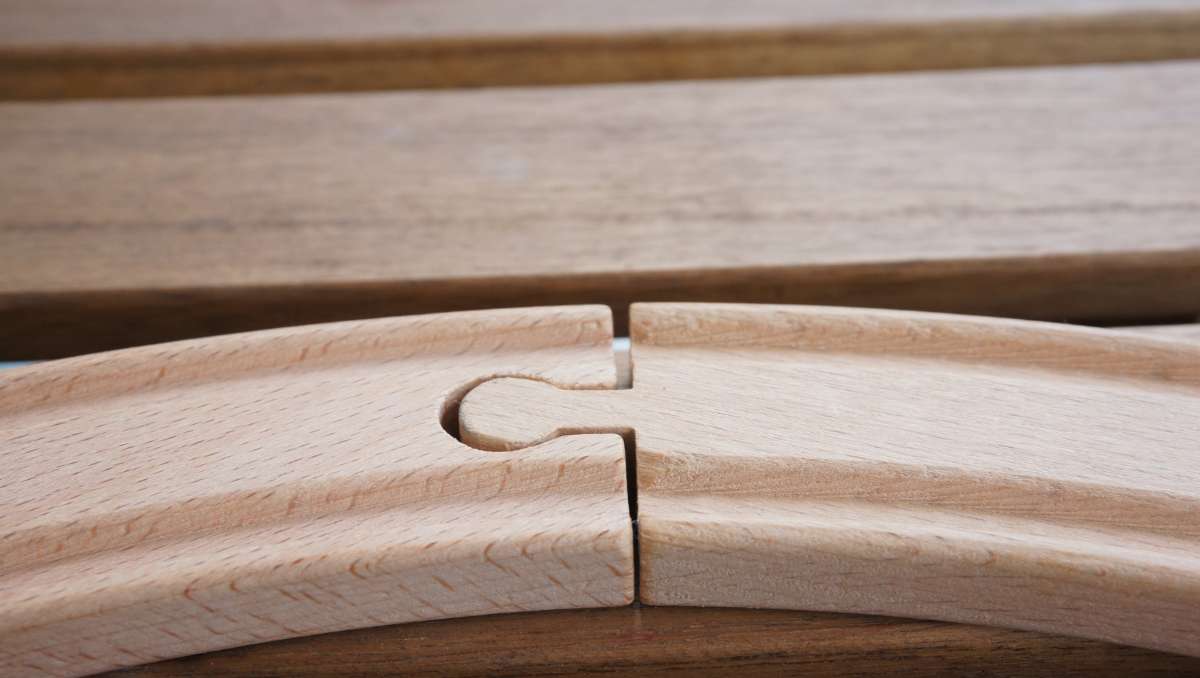
Lapped or Halved Joint – Half-Lap, Cross-Lap
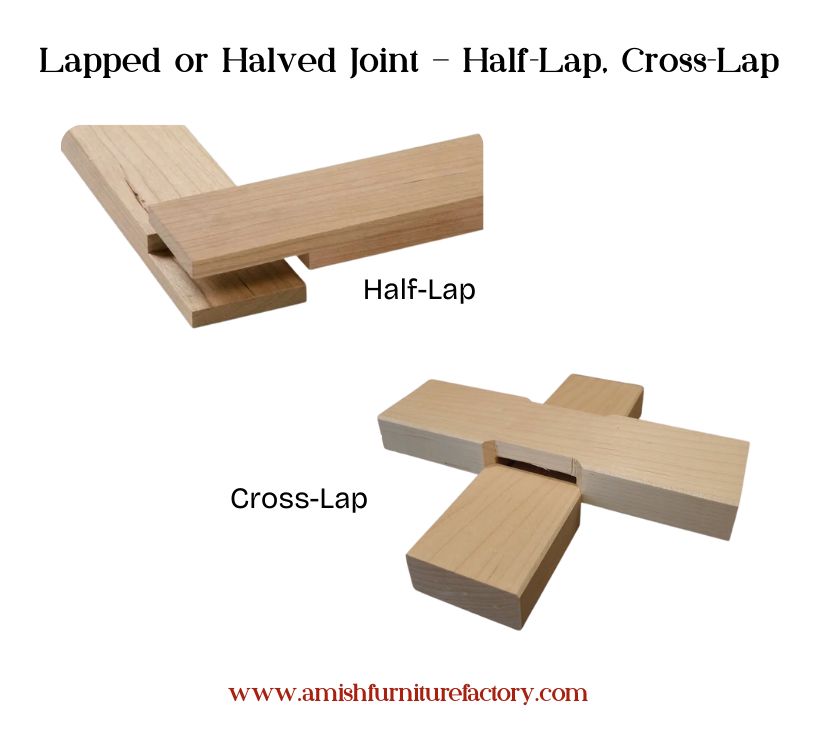
A lapped or halved joint removes half the thickness of each board so they overlap and sit flush when joined. This design increases surface area, making the joint much stronger than a butt joint while still being relatively simple to cut. Half-lap joints are common in frames, workbenches, and furniture components, while cross-lap joints are ideal for intersecting pieces like grid structures.
Tongue and Groove Joint

Tongue and groove joints use a raised “tongue” on one board that fits neatly into a corresponding groove on another. This allows large surfaces such as flooring, paneling, tabletops, and cabinet backs to lock together with better alignment and strength.
Non-Interlocking Joints
These joints do not lock together by shape alone.
Butt Joint

The butt joint is the most basic way to connect two boards: you simply place one against the end or edge of the other and fasten them together. While it’s quick and beginner-friendly, it doesn’t offer much inherent strength because there’s minimal surface area for bonding.
Housed Joint

A housed joint involves cutting a recess or channel (the “housing”) into one board so another piece fits into it snugly. Because the housed section supports the inserted piece on three sides, the joint resists racking and keeps parts aligned.
Mitre Joint

A mitre joint is formed by cutting two boards at matching angles (most commonly 45 degrees) so they meet cleanly at a corner. This joint is popular when appearance matters because it hides end grain and creates a seamless look around frames, trim, boxes, and casings.
Mechanical and Reinforced Joints
These joints use external or internal reinforcements to strengthen connections reliably.
Pocket Hole Joint

Pocket hole joints use angled holes drilled into one board to allow screws to draw it tightly against another. The pocket joint method is fast, strong enough for many household projects, and extremely beginner-friendly.
Dowel Joint

A dowel joint uses small wooden pins inserted into aligned holes across two mating boards. The dowels provide internal reinforcement and increase the bonding surface, creating a stronger connection than a simple butt joint.
Biscuit Joint

A biscuit joint uses small, oval-shaped wooden “biscuits” inserted into matching slots cut across two boards. When glued, the biscuits swell and lock the joint together, improving both alignment and strength. Biscuit joinery is especially useful for tabletops, panels, and wide surfaces.
Here’s a table of common wood joints, including when to use them and relative strength:

Sustainability and Material Efficiency in Wood Joinery
Modern woodworking is also about using materials wisely and minimizing waste. Thoughtful joinery techniques allow for more efficient use of lumber, reducing the need for excess fasteners or large amounts of glue. Material efficiency also extends to adhesives and finishes. Selecting the right glue for the job not only improves joint strength but can reduce environmental impact by limiting chemical waste or choosing low-VOC options. Combining traditional joinery with mindful material choices helps builders create projects that are both durable and eco-conscious, without compromising on quality or function.

How to Choose the Right Joint for Your Project
The right joint depends on what matters most: strength, appearance, speed, or flexibility. Structural parts like table legs benefit from strong interlocking joints such as mortise and tenon, while visual projects like picture frames suit clean mitre joints. For wide surfaces like tabletops or paneling, tongue and groove, biscuits, or dowels help maintain alignment. When speed and simplicity matter, pocket holes or reinforced butt joints are often sufficient.
Also consider wood movement. Wood expands and contracts with humidity, and different joints handle this stress differently. Interlocking joints provide excellent long-term stability but require precision, while mechanical joints are faster and more forgiving. In most projects, the best choice is the joint that balances durability with practicality.
Wood Joining Tips, Techniques, and Best Practices
These practical tips help you avoid common mistakes, improve accuracy, and build pieces that hold up over time.

1. Prepare surfaces properly and use the right adhesive for the job
Clean, flat, and well-fitted surfaces allow glue to bond more effectively, giving the joint its full strength. Choose an adhesive suited to the project—wood glue for most furniture, epoxy for gaps, and polyurethane when moisture resistance matters.
2. Use reference faces and reference edges
Always establish a reference face and edge before cutting; this keeps each measurement aligned and consistent. When all cuts relate back to the same points, your joints fit together with far fewer surprises.
3. Maximize long-grain-to-long-grain contact
Long-grain surfaces bond dramatically better than end grain, so favor joint designs that increase this contact wherever possible. More bonding area equals stronger, more reliable connections.
4. Ensure a tight, accurate mechanical fit
Interlocking and structural joints rely on precision—too loose and the joint weakens, too tight and it may split. Aim for a snug, purposeful fit that assembles smoothly without excessive force.
5. Account for wood movement in the design
Wood naturally expands and contracts with humidity, and ignoring this can cause cracks or warped panels. Choose joints that allow a bit of movement where needed, especially in wide boards and long assemblies.
6. Reinforce where necessary
Even a well-made joint can benefit from reinforcement when strength or longevity is critical. Screws, dowels, splines, or brackets can quietly add stability without compromising the look of your project.
Ready to see the superior quality of wood joinery firsthand? Explore our selection of handcrafted Amish cabinets. to find enduring pieces built with traditional, time-honored techniques.
Conclusion: Joinery as Craft, Engineering, and Art
Wood joining sits at the intersection of craft, engineering, and artistic expression. It’s where the careful shaping of a joint meets practical understanding of forces and material behavior, all while leaving room for creativity in design. Mastering joinery allows woodworkers to create pieces that are functional, durable, and beautiful, transforming raw boards into works of purpose and craftsmanship. Every well-made joint reflects both skill and thoughtfulness, proving that woodworking is as much about precision as it is about artistry.
Frequently Asked Questions
What is the strongest type of wood joint?
Mortise and tenon and dovetail joints are widely regarded as the strongest due to their interlocking shapes and long-grain contact. They provide exceptional mechanical strength and resist pulling apart, making them ideal for furniture and load-bearing applications.
What joinery method is best for beginners?
Butt joints and pocket hole joints are the easiest for beginners. They require minimal tools and skill while still producing functional results.
Do I need expensive tools to start learning joinery?
No. Basic hand tools, a few clamps, and a quality saw are enough to start learning most fundamental joints. Power tools can speed up work, but skill and understanding of wood behavior are far more important.
Can I successfully mix and match hand-tool and power-tool techniques when cutting a single joint?
Absolutely. Many woodworkers combine hand tools for precision with power tools for efficiency. The key is maintaining accuracy and control throughout the process, regardless of the tool used.