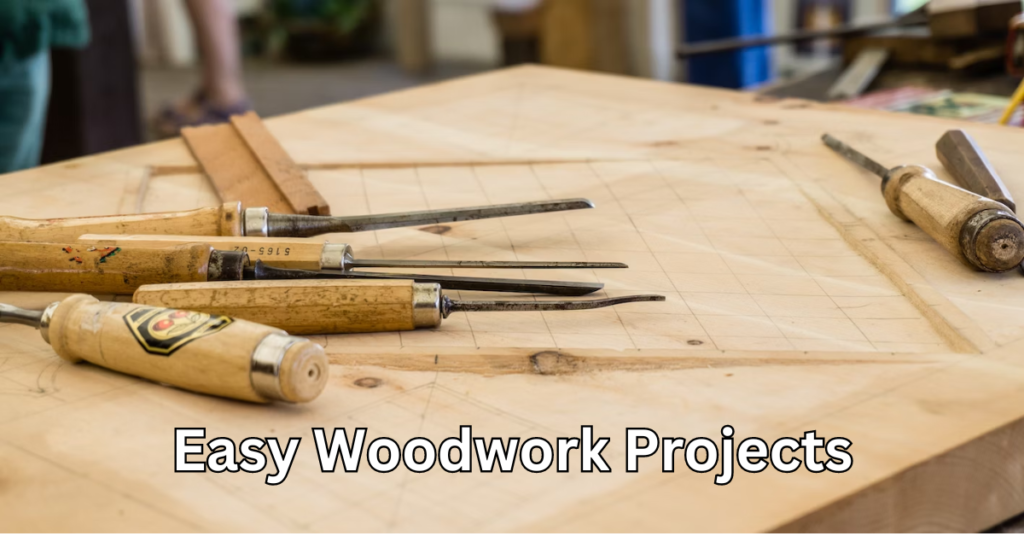
Whether you’re yearning for a sense of belonging in a community of like-minded individuals or simply looking to express your creativity, easy woodwork projects are the perfect place to start. With their straightforward designs and step-by-step instructions, these projects provide a safe space for beginners to explore their woodworking skills without feeling overwhelmed.
What are five easy DIY woodworking projects?
- Simple wooden boxes
- DIY coasters
- Wall-mounted key holders
- Wooden picture frames
- Handmade shelves
In this article, we will delve into the benefits of starting with easy woodwork projects and share our top five favorites that are sure to inspire your inner artist. We’ll also provide you with some invaluable tips to ensure success on your journey towards becoming a woodworking pro.
The Benefits of Starting with Easy Woodwork Projects
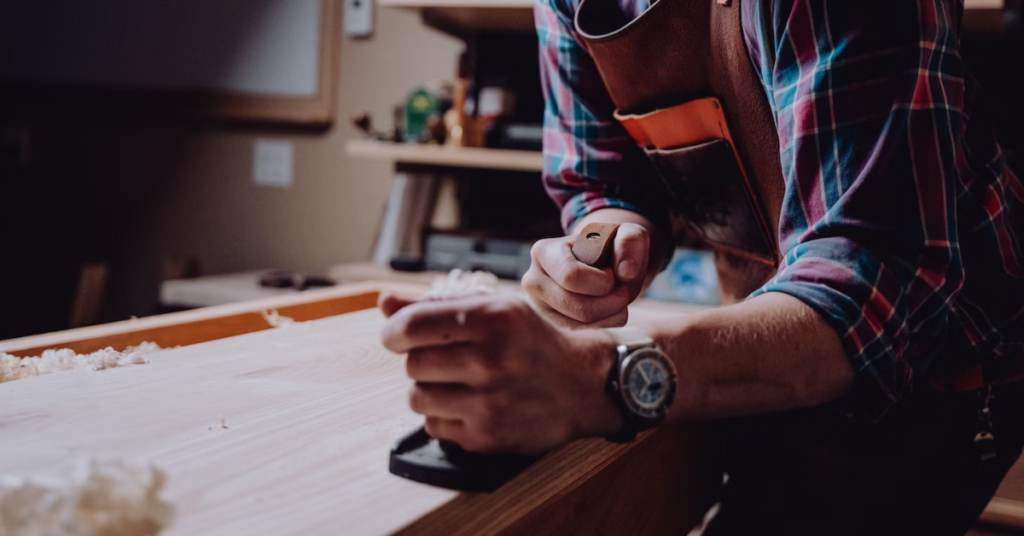
Starting with easy woodwork projects can be a game-changer for you, as they allow you to swiftly gain confidence and unleash your inner woodworking genius.
One of the first steps in embarking on your woodworking journey is choosing the right tools. For beginners, it’s important to start with basic hand tools such as a saw, chisel, and hammer. These versatile tools will enable you to create simple yet beautiful pieces without overwhelming complexity.
Safety measures are crucial for beginners in any craft, and woodworking is no exception.
Learning about proper safety precautions ensures that you can enjoy your newfound hobby without risking injury. Wearing protective gear like safety glasses and gloves, using clamps to secure your workpiece firmly, and understanding the correct techniques for handling sharp tools are all essential.
By starting with easy woodwork projects, you can gradually build confidence in your woodworking skills. As you successfully complete one project after another, each more challenging than the last, you’ll feel a sense of accomplishment that fuels further growth.
Finding inspiration for easy woodwork projects is key to keeping your creativity flowing. You can browse through magazines or online platforms dedicated to woodworking ideas or join local woodworking communities where members share their work and offer guidance.
Lastly, one of the benefits of using scrap wood for beginners is cost-effectiveness. Scrap wood is often available at little to no cost and allows you to practice various techniques without worrying about wasting expensive materials.
Top 5 Easy Woodwork Projects for Beginners
If you’re a beginner in woodworking, there are several easy projects that can help you get started.
1. Simple Wooden Box
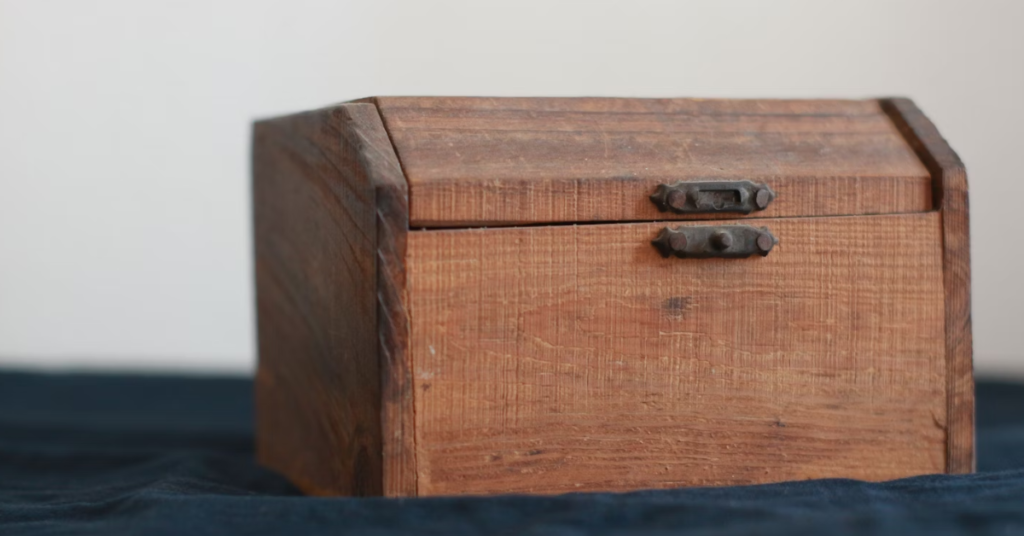
Crafting a simple wooden box is like unlocking a secret treasure chest of creativity and practicality. It’s an excellent project for beginners in woodworking, allowing you to explore your artistic side while creating functional items.
With just a few basic tools and materials, you can make beautiful wooden jewelry boxes, rustic decor pieces, or personalized gifts that will impress your friends and family.
The simplicity of the wooden box project makes it perfect for those who are new to woodworking. You’ll learn essential skills like measuring, cutting, sanding, and assembling pieces together. Plus, you can experiment with different finishes and embellishments to add your unique touch.
Materials required:
- Planks of wood (pine or cedar are great starter choices)
- Nails or screws
- Sandpaper (80 grit and 220 grit)
- Wood glue
- Optional: wood stain or paint for finishing
Instructions:
- Cutting: Start by measuring and cutting your wood into six pieces: a base, two sides, two ends, and a lid.
- Sanding: Sand all pieces with 80-grit sandpaper to smoothen rough patches, and then finish with 220-grit sandpaper for a fine finish.
- Assembly: Attach the sides to the base using wood glue. Reinforce with nails or screws. Do the same for the ends.
- Lid: For the lid, you can either hinge it to the box or design it to fit snugly on top.
- Finishing: Once the box is assembled, you can paint or stain it for added protection and aesthetic appeal.
- Variations and customization options: Consider adding felt lining inside, affixing a latch, or carving designs on the lid for a personal touch.
2. DIY Coasters
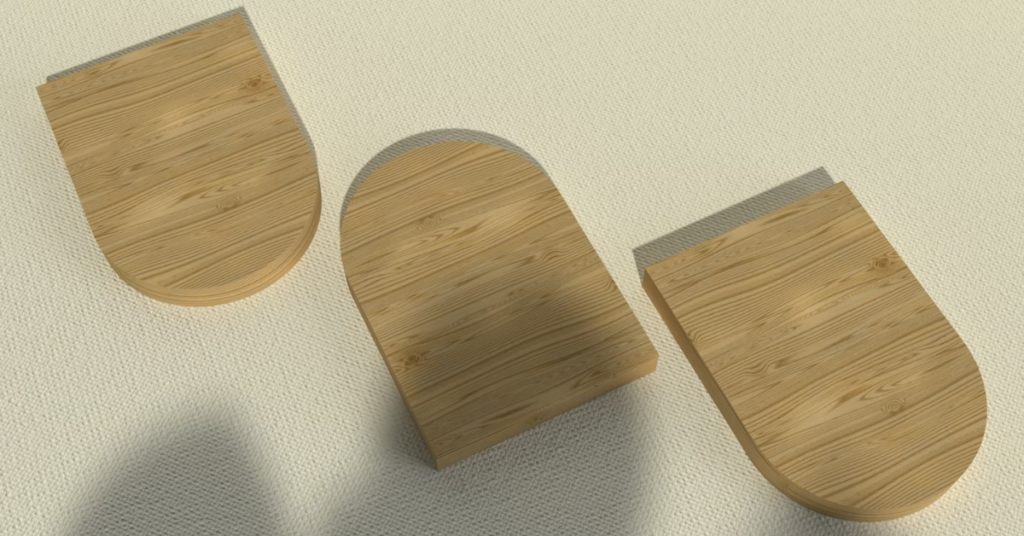
To create a set of unique and practical coasters, you’ll need to gather some materials and let your imagination run wild. Popular choices include birch plywood or hardwood like oak or walnut.
Materials and tools:
- Thin wood slices (4-inch diameter recommended)
- Sandpaper
- Clear sealant or wood finish
Detailed steps:
- Sanding: Sand each wood slice thoroughly until smooth, focusing especially on the edges.
- Decoration (optional): If desired, paint or stencil designs onto the coaster. Ensure any design is dry before proceeding.
- Sealing: Apply a clear sealant or wood finish to protect the coasters from moisture. Allow drying as per the product’s instructions.
- Design ideas: Consider wood burning techniques, colored stains, or decoupage to create unique designs.
3. Wall-Mounted Key Holder
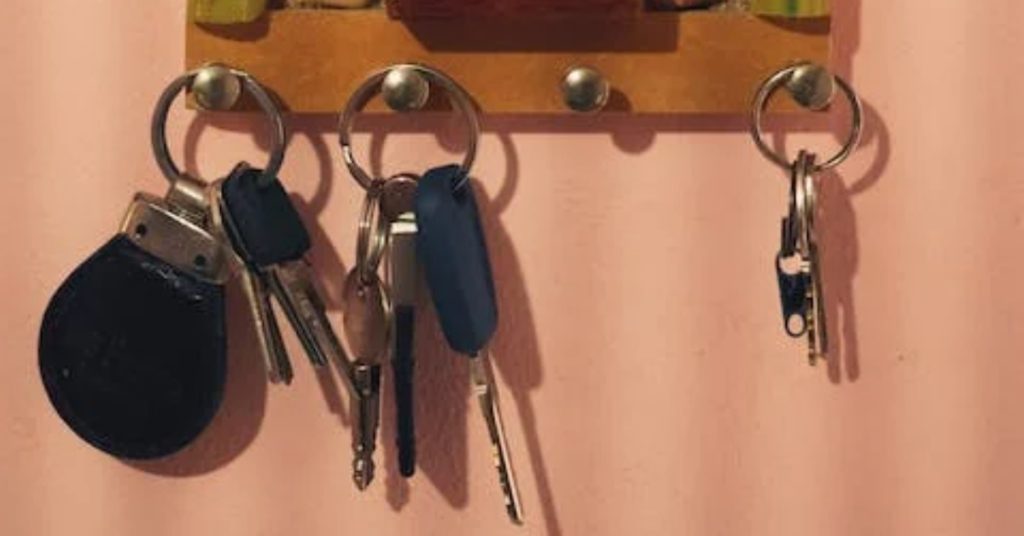
Get organized and add a touch of style to your entryway with a wall-mounted key holder. This wooden key organizer isn’t just functional, but it also adds a rustic charm to your home decor. The personalized key rack lets you easily hang and store your keys in one convenient place.
Materials:
- Small wooden board (12 inches by 5 inches recommended)
- Hooks
- Paint or stain (optional)
- Wall mounting hardware
Building instructions:
- Preparation: Sand the wooden board until smooth.
- Decoration: Paint or stain the board if desired. Let it dry completely.
- Hooks: Mark positions for the hooks, ensuring they’re spaced evenly. Screw the hooks into these positions.
- Mounting: Attach wall mounting hardware to the back of the board.
- Styling tips: Consider adding labels above each hook or using different sized or decorative hooks for varied aesthetics.
4. Wooden Picture Frame
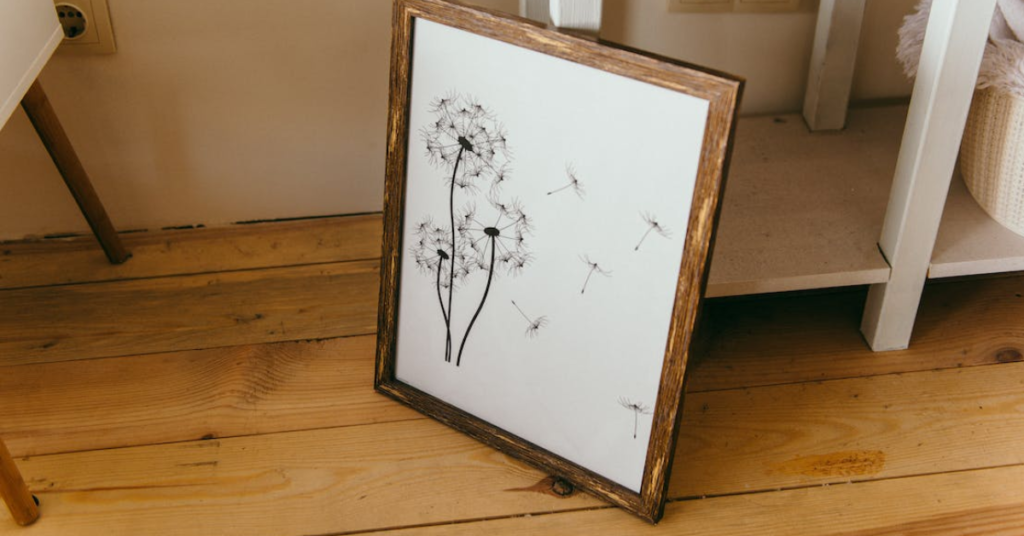
When you walk into your home, don’t you want to be greeted by cherished memories and moments captured in a beautifully crafted wooden picture frame?
Wooden picture frames provide a timeless and elegant way to display your favorite photographs or artwork. There are countless wooden picture frame ideas that can suit any style or decor.
Materials:
- Four wooden strips
- Nails or screws
- Wood glue
- Sandpaper
- Clear acrylic sheet or glass
- Photo mounting hardware or clips
Detailed steps:
- Measuring: Measure the strips to frame your desired photo size.
- Sanding: Sand the edges and surfaces for a smooth finish.
- Assembly: Join the strips at right angles to form a rectangle. Secure the corners with glue and reinforce with nails or screws.
- Mounting: Secure the acrylic sheet or glass on the back of the frame. Attach photo mounting hardware or clips.
- Finishing: Stain or paint for a customized look.
- Decoration ideas: Add embellishments like ribbons, beads, or carved designs for a personalized touch.
5. Handmade Wooden Shelf
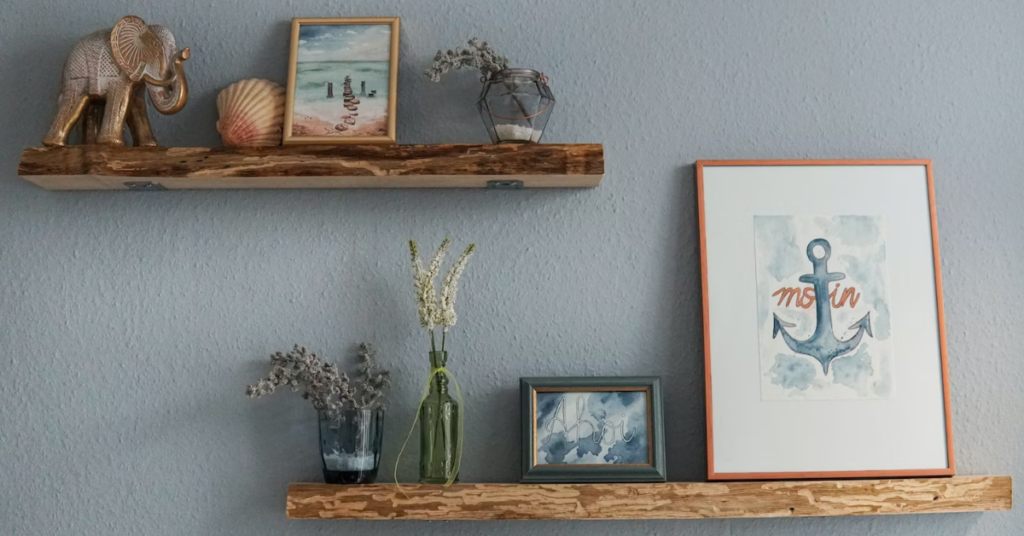
Crafting a handmade wooden shelf provides a unique and personal touch to your home decor. It allows you to showcase your woodworking skills while creating a functional piece of furniture.
Materials:
- Wooden plank (Length as per requirement, width of 6-8 inches recommended)
- L-shaped brackets (2 or more based on length)
- Screws and wall anchors
Detailed steps:
- Sanding: Sand the wooden plank thoroughly for a smooth finish.
- Brackets: Mark positions on the wall where you want to fix the shelf. Ensure the positions are aligned with wall studs or use wall anchors for support.
- Mounting: Attach the L-shaped brackets to the wall. Place the wooden plank on the brackets and screw it in place.
- Design options: Use decorative brackets or paint patterns on the wooden plank to match your interior decor.
Tips for Ensuring Success with Your Woodwork Projects
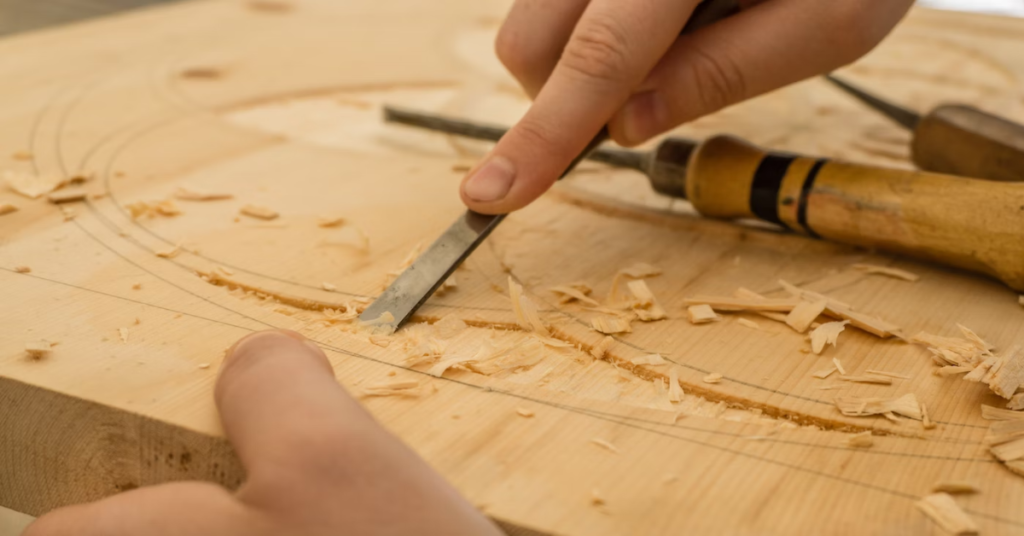
To maximize your chances of success with easy woodwork projects, it’s important to remember that proper planning and measuring can significantly decrease the risk of mistakes. In fact, studies have shown that accurate measurements reduce errors by up to 75%!
When it comes to safety precautions, always wear protective gear such as safety goggles and gloves. Additionally, make sure your workspace is well-ventilated to avoid inhaling sawdust or fumes from wood finishes.
Choosing the right tools for your project is crucial. Start with a basic set including a tape measure, hammer, chisels, hand saws, and sandpaper. As you gain experience, you can expand your collection.
Effective wood finishing techniques are essential for achieving professional-looking results. Sanding between coats and applying multiple thin layers of finish will give your project a smooth and polished appearance.
Inevitably, mistakes may occur during the woodworking process. Troubleshooting common woodwork project mistakes involves creativity and problem-solving skills. Don’t be discouraged; learn from these experiences to improve future projects.
Finding inspiration for your next woodwork project can come from various sources such as online platforms like Pinterest or woodworking magazines. Visiting local craft fairs or furniture stores can also spark ideas for new projects.
By following these tips and techniques, you’ll increase your chances of success with easy woodwork projects while enjoying the satisfaction of creating something beautiful with your own hands.
Final Thoughts on Beginning Your Woodworking Journey
Taking on easy woodwork projects is like planting a seed in fertile soil. It allows you to nurture your passion for woodworking and watch it grow into something beautiful.
Just as a gentle breeze guides a sailboat towards its destination, these projects provide a steady foundation for your woodworking skills to flourish. With each stroke of the hammer and each cut of the saw, you’re creating not only functional pieces but also memories that’ll last a lifetime.
