

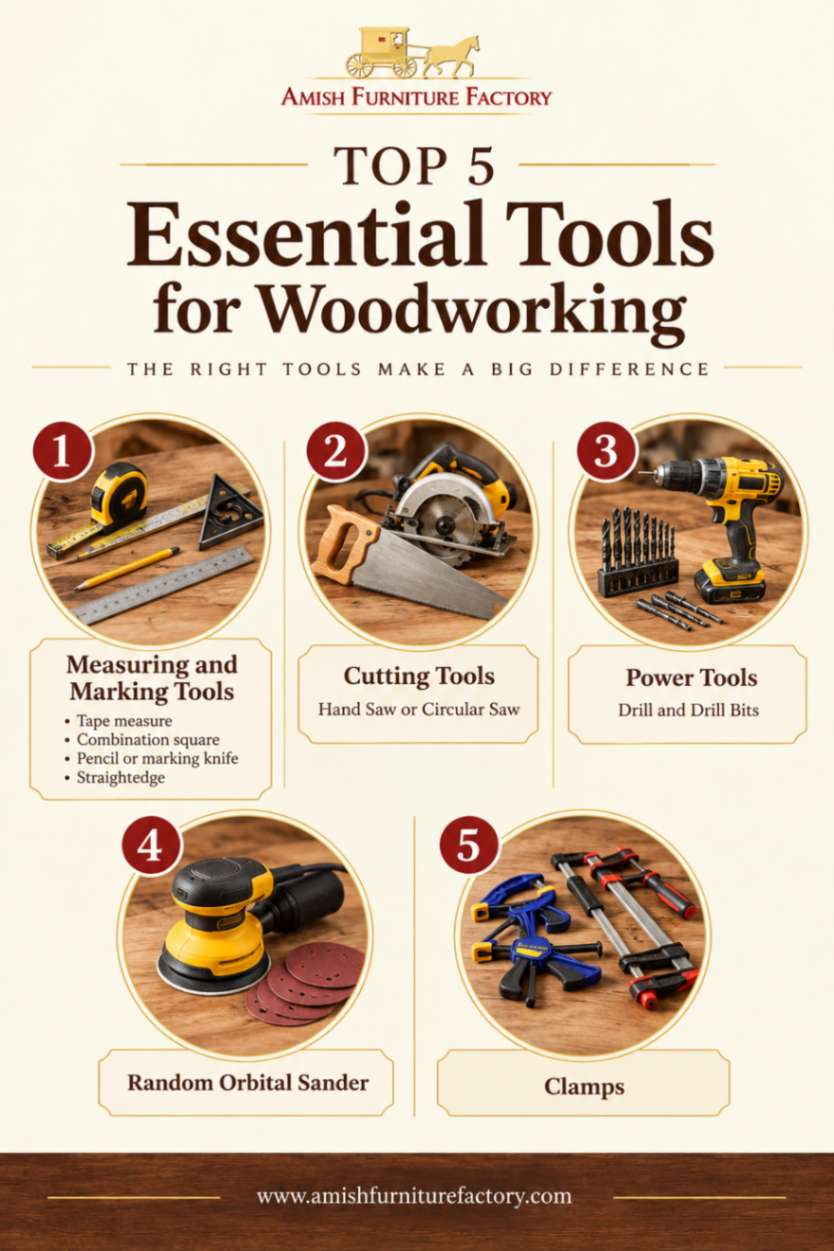
The essential tools for woodworking beginners are a measuring and marking set, a saw, a cordless drill with bits, a random orbital sander, and a handful of good clamps. With these five, you can build shelves, boxes, and simple furniture before buying anything bigger.
Key Takeaways:
- Five tools cover most beginner projects: measuring and marking tools, a hand saw or circular saw, a cordless drill, a random orbital sander, and clamps.
- Buy quality tools one at a time as projects need them, rather than a large kit full of pieces you’ll rarely use.
- Protective gear like safety glasses, hearing protection, and dust control should belong in your kit.
#1 Measuring and Marking Tools
Every good piece of furniture starts with a line drawn in the right place. Our craftsmen build tables and chairs with tight, square joints because they treat layout as seriously as the cutting itself.
- Tape measure. A 16 or 25-foot tape with a sturdy locking button cover almost every beginner woodwork projects.
- Combination square. You’ll reach for this more than anything but the tape, because it checks square, marks parallel lines, and sets depth all at once. A 12-inch machined square stays accurate far longer than a stamped plastic one.
- Pencil or marking knife. A sharp carpenter’s pencil works well for rough layout. For joinery, a marking knife leaves a fine, crisp line.
- Straightedge. A 24 or 36-inch steel straightedge lets you draw long, true lines and check whether a board is flat or cupped.
#2 Cutting Tools: Hand Saw or Circular Saw

The hand saw is where you begin to learn woodworking. A Japanese pull saw or a Western panel saw is quiet, makes little dust, and gives you full control over every stroke. The circular saw is about speed and power. It rips long boards and crosscuts thick stock in seconds, which matters when you’re breaking down a full sheet or a stack of lumber.
If you are choosing one to start, take the hand saw. It costs less, needs no setup, and forces you to learn how to follow a line, which is the skill every later tool depends on. Add the circular saw once you are breaking down sheet goods and the hand saw starts to feel slow. Tooth count tells you what a saw is for. Fewer, larger teeth cut fast along the grain, while more teeth cut slower and cleaner across it.
#3 Power Tools: Drill and Drill Bits

If you could only own one power tool, it should be a cordless drill. It bores holes, drives screws, and sinks pilot holes, which covers most of what a beginner project asks of a power tool. Start with an 18 or 20-volt cordless drill/driver with an adjustable clutch and two batteries. The clutch lets you set how hard the drill drives before it slips, which keeps screws from sinking too deep in softer woods like pine or poplar.
You will see drill and impact driver combo kits everywhere. The impact driver is better at driving long screws and worse at everything requiring finesse, so it is a useful second purchase rather than a first one.
For bits, a basic set should cover three needs:
- Twist bits in sizes from 1/16 to 1/4 inch for pilot holes and general drilling.
- Brad-point bits that start exactly where you mark and leave clean edges in hardwoods like oak and maple.
- A countersink bit so screw heads sit flush or below the surface, ready for a wood plug.
#4 Random Orbital Sander
Sanding is where a project goes from built to finished. A random orbital sander is the right choice for beginners because of how it moves. The pad spins in a circle while also orbiting in a random pattern, so it doesn’t leave the swirl marks a basic palm sander can. Hook the sander to a shop vacuum if the tool allows it. It keeps the paper cutting longer and keeps the finest dust out of the air, which is the dust that matters most.
Work through the grits in order, never skipping more than one step. A common progression for furniture looks like this:
- 80 grit to remove saw marks, glue squeeze-out, and uneven spots.
- 120 grit to smooth out the scratches left by the coarse paper.
- 180 or 220 grit for a surface ready to take stain or oil evenly.
#5 Clamps
Ask any experienced woodworker what they wish they’d bought more of, and the answer is almost always clamps. They hold boards steady while you cut, keep parts aligned while you drill, and squeeze glued joints tight while they dry. Clamps matter most during glue-up. That’s how a set of Amish dining chairs stays solid for decades of daily use, with every joint clamped snug until the glue sets.
- F-clamps or bar clamps. Your everyday workhorses, good for holding stock to the bench and squeezing joints while glue sets.
- Quick-release clamps. They’re handy for positioning parts before you drive a screw.
- Pipe clamps. When you’re ready to glue up a wider panel, like a small tabletop, pipe clamps give you length without a big price.
How to Choose Quality Beginner Woodworking Tools
You don’t need the most expensive brand, but you do need tools that hold their accuracy and feel solid in your hands.
What to Look for in Hand Tools
When choosing hand tools, pay attention to steel quality. Hardened steel is better able to hold a sharp edge, while softer steel can dull quickly. Accuracy out of the box also matters. For example, check a combination square against a known straight edge or flip it over to see whether it maintains a true 90-degree angle. Since hand tools can stay in your grip for extended periods, comfortable handles can help reduce hand fatigue. Finally, consider weight and balance. A little heft can help a saw track more steadily and keep a square from shifting while you work.
What to Look for in Power Tools
For power tools, start by considering whether they fit into a shared battery platform. Choosing one cordless brand for your drill, sander, and circular saw allows you to use the same batteries and charger, reducing cost and clutter. Variable speed and good controls are also valuable, particularly when working with different types of wood. Features such as an adjustable drill clutch or variable-speed sander give you greater control over the task.
Beginner Woodworking Safety Rules
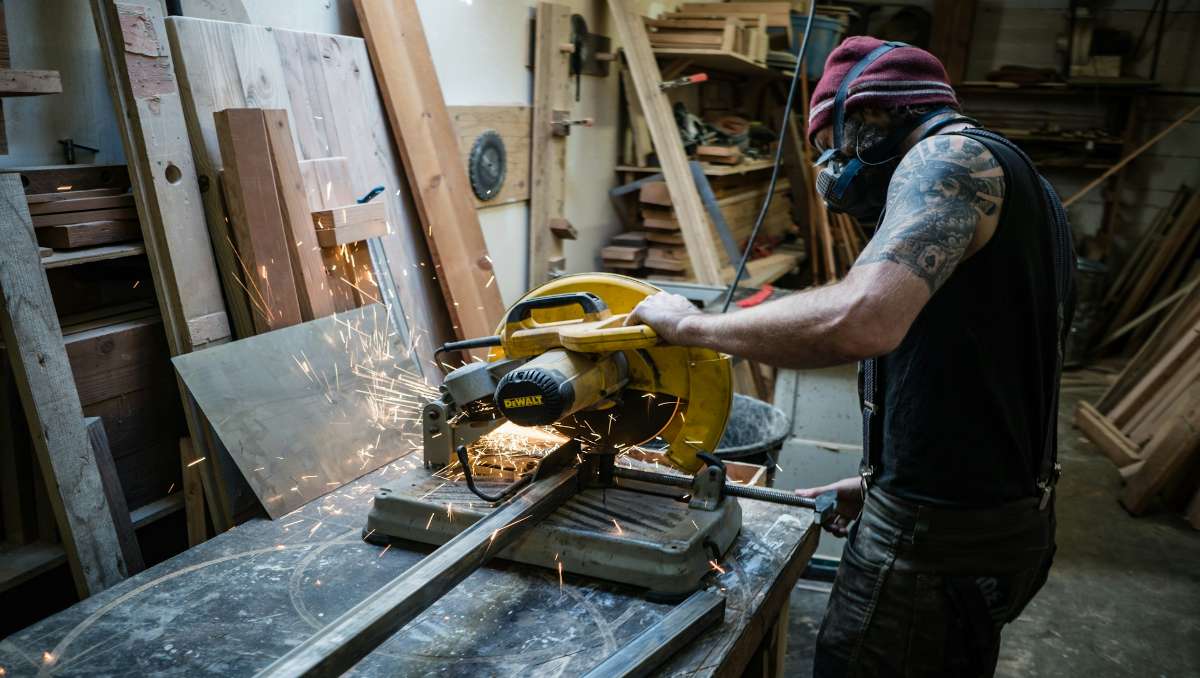
The best woodworkers are careful, every single time. Saw blades, flying chips, fine dust, and loud motors can all cause lasting harm, so build these habits from your very first cut.
- Wear safety glasses every time. Chips and sawdust fly fast and without warning, even from a hand saw or sander.
- Protect your hearing. NIOSH sets its recommended noise limit at 85 dBA over an eight-hour day. Earplugs or earmuffs are cheap insurance.
- Control the dust. Wear a dust mask or respirator while sanding and cutting, and connect tools to a shop vacuum when you can.
- Clamp your work, not your hand. Never hold a small piece with your fingers near a blade or bit. Clamp it to the bench instead.
- Keep blades and bits sharp. A dull edge needs more force, and extra force is when slips happen.
- Unplug or remove the battery before changing blades or bits. One accidental trigger pull is all it takes.
- Keep your workspace clean and well lit. Offcuts on the floor and shadows on the bench both lead to mistakes.
Final Thoughts on Building a Beginner Woodworking Tool Kit
You don’t need a full shop to start building. A tape measure and square, a good saw, a cordless drill, a random orbital sander, and a few clamps will carry you through your first dozen projects. Learn each one well, and add tools only when a project truly calls for them. That’s how real craftsmanship grows. The Amish craftsmen who built our furniture didn’t start with a warehouse of machines. They started with the basics, mastered them, and let skill do the rest.
When you’re ready to see what generations of practice can produce, explore our handcrafted Amish dining tables and the rest of the collection at Amish Furniture Factory. Every piece is built by hand from solid hardwood and made to your specifications.
Frequently Asked Questions
What woodworking tool should I buy first?
Buy a tape measure and a combination square first. Every project depends on accurate measuring and marking, and these two tools cost little while improving every cut you make. A cordless drill is the best first power tool after that.
Should a beginner start with hand tools or power tools?
Start with a mix. Hand tools like a square, pull saw, and clamps teach control and precision. A cordless drill and random orbital sander save time on repetitive jobs. Add bigger power tools only when your projects outgrow what you have.
How much should a beginner spend on woodworking tools?
A solid starter kit of the five essential tools typically runs between $300 and $600, depending on brands and whether you choose a hand saw or circular saw. Spend more on tools that need accuracy, like your square and saw, and save on items you’ll upgrade later.
Should I buy a cheap starter kit with 50 tools or invest in individual high-end tools one by one?
Invest in individual, good-quality tools one at a time. Large kits often include low-grade pieces you’ll rarely use and soon replace. Buying tools as each project calls for them builds a kit you actually know how to use.
Can I build my very first piece of furniture using only hand tools without any power equipment?
Yes. Furniture was built entirely by hand for centuries, and simple pieces like a step stool, bench, or small side table are well within reach. With a saw, chisel, square, hand drill, and clamps, you’ll work slower but learn more about how wood behaves.