
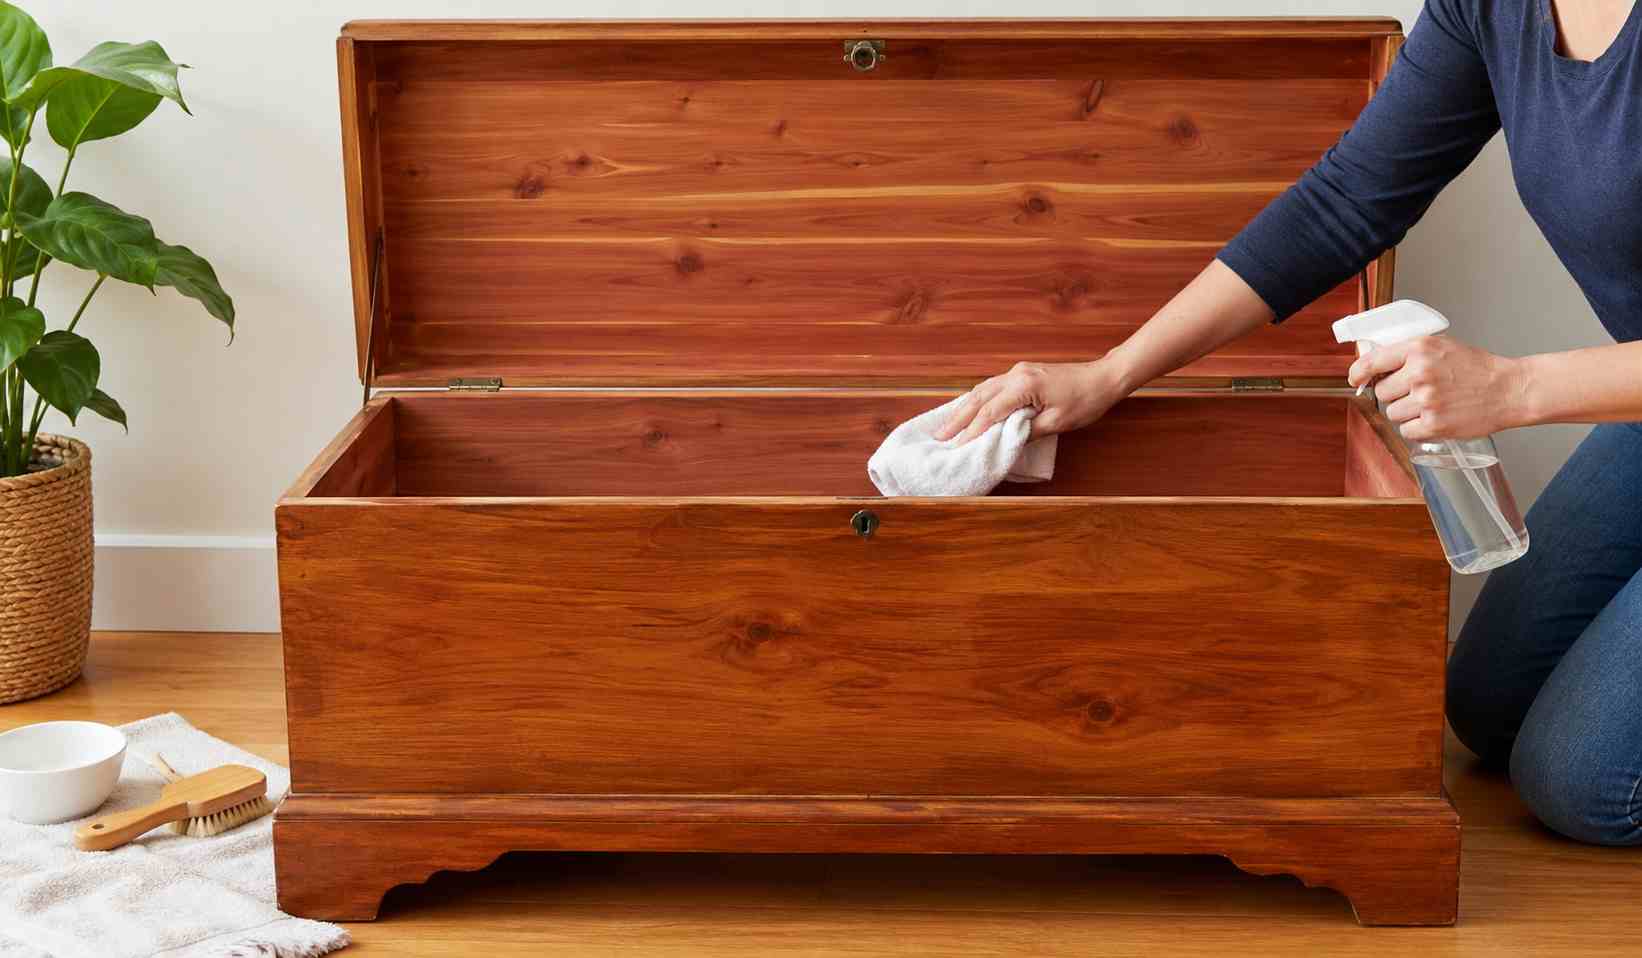
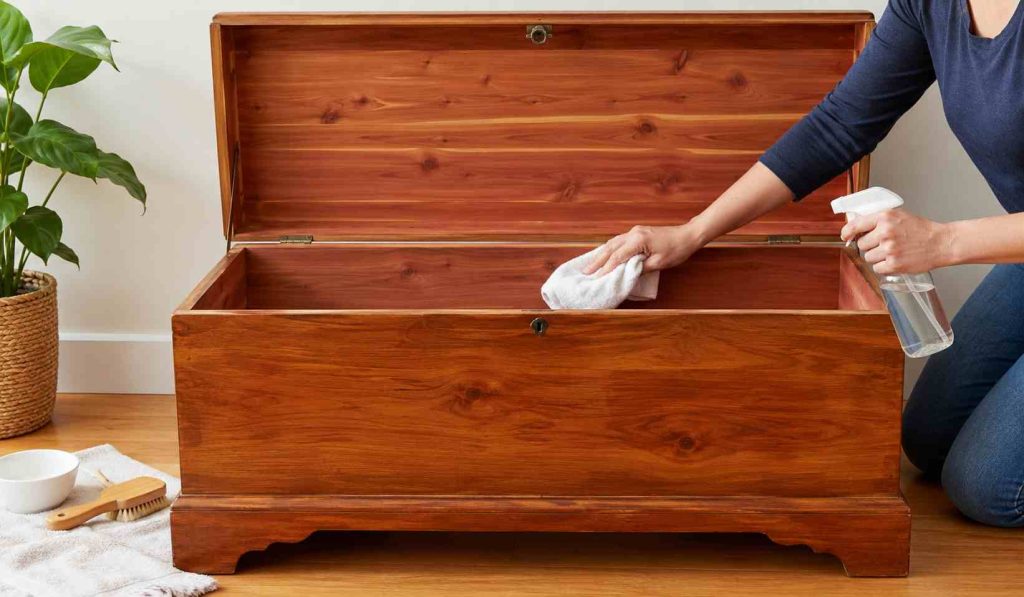
Cedar chests are prized for their timeless appearance, natural fragrance, and ability to help protect stored items from moisture and pests. However, cleaning them requires a different approach than cleaning other types of wood furniture. Too much moisture, harsh chemicals, or improper products can quickly damage the wood and reduce the qualities that make cedar so valuable.
Key Takeaways:
- To clean a cedar chest, use gentle cleaning methods, minimal moisture, and avoid harsh chemical cleaners that can damage the wood.
- If the signature cedar scent has faded, lightly sand the interior surfaces to expose fresh aromatic oils.
- Preventive maintenance, such as regular dusting, proper ventilation, and seasonal inspections, will help keep a cedar chest in excellent condition for years.
If you’ve been wondering how to clean a cedar chest without causing harm, you’re in the right place. This article will walk you through safe cleaning methods and maintenance tips that help preserve your cedar chest for years to come.
Why Cedar Wood Requires Special Care
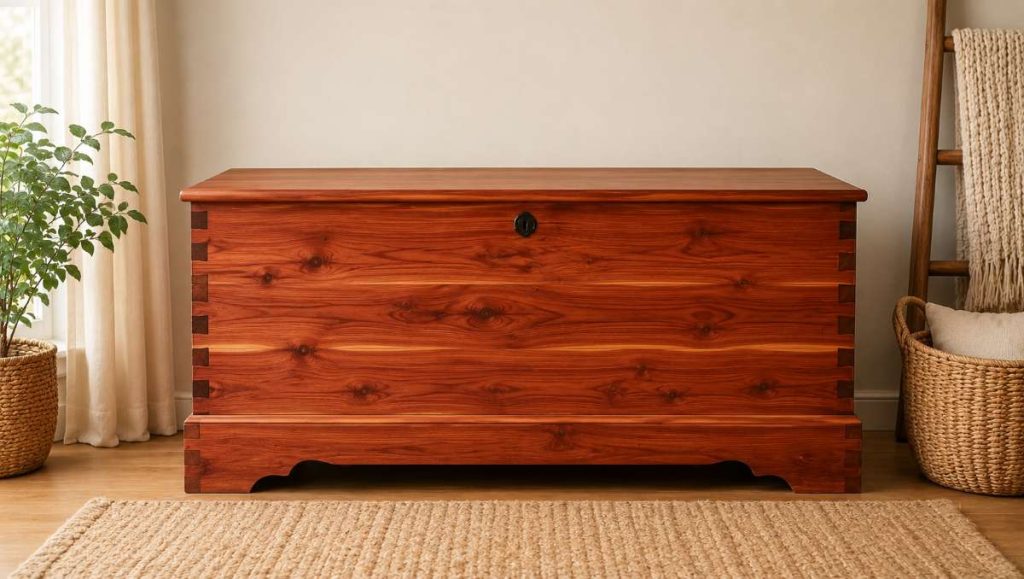
Before you begin cleaning, it’s important to understand what makes cedar unique. Cedar contains natural aromatic oils that give the wood its distinctive scent and natural insect-repelling properties. It’s also important to determine whether your cedar piece is finished or unfinished, as each requires a different cleaning approach. Finished cedar has a protective topcoat that offers some resistance to moisture and stains, while unfinished cedar, often found inside cedar chests and closets, can easily absorb liquids and cleaning products.
One of the most common mistakes homeowners make is treating cedar like ordinary furniture. Using all-purpose cleaners, soaking the wood with water, or applying heavy waxes and polishes can damage the surface, reduce cedar’s natural aroma, and shorten the life of the piece. A gentle, wood-appropriate cleaning routine will help preserve both the beauty and functionality of cedar for years to come.
Supplies You’ll Need to Clean a Cedar Chest Safely
Gathering the right supplies beforehand makes the cleaning process easier and reduces the risk of accidental damage.
- Vacuum cleaner with a soft-brush attachment
- Microfiber cloths and soft lint-free towels
- Mild dish soap and warm water
- Baking soda
- White vinegar (for odor treatment when needed)
- 180 to 220 grit sand paper
- Cedarwood oil or cedar blocks (optional)
- Soft-bristle brush
How to Clean a Cedar Chest Without Damaging the Wood
Cleaning a cedar chest properly is all about using gentle methods and avoiding excess moisture. Here are the steps that will help keep the wood clean while preserving its natural beauty and aroma.
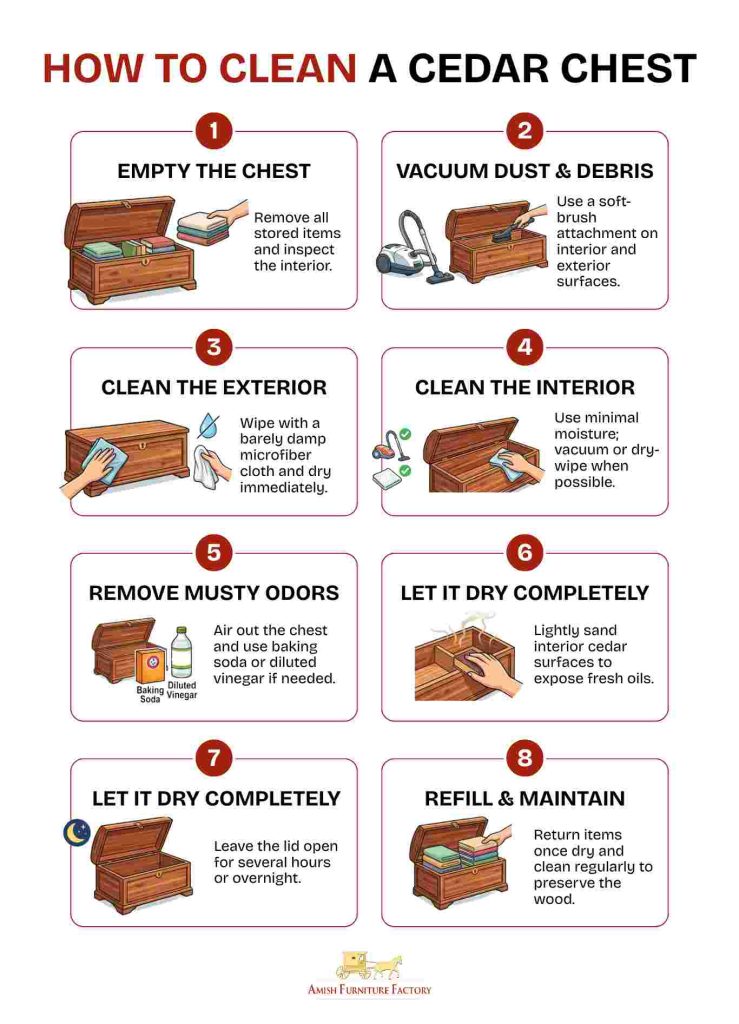
Step 1: Vacuum Dust and Debris from the Interior and Exterior
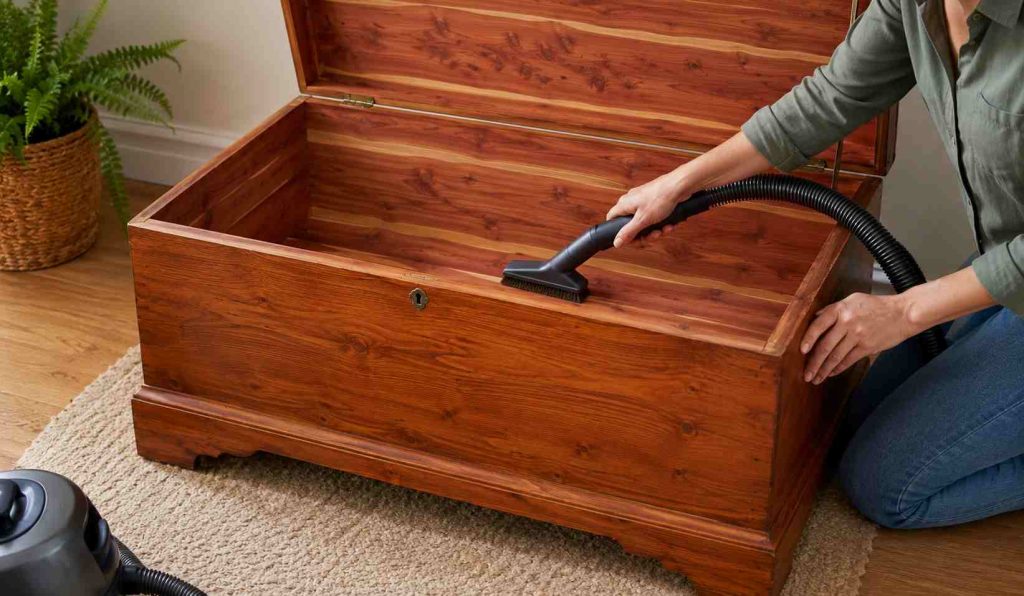
Start by completely emptying the cedar chest. Using a vacuum with a soft-brush attachment, carefully remove dust and debris from both the cedar-lined interior and exterior. Pay special attention to corners, seams, hinges, carvings, and decorative details where dirt tends to accumulate. This step prevents abrasive particles from scratching the wood during cleaning. A common mistake to avoid is using a hard nozzle or rushing over delicate areas, which can leave marks or damage the soft cedar surface.
Step 2: Wipe Down the Exterior Wood Surface
Different furniture finishes require slightly different care, so it’s important to adjust your approach based on whether the chest is raw wood, lightly finished, or sealed. In general, you can mix a few drops of mild dish soap into a bowl of warm water to create a gentle cleaning solution, while avoiding strong detergents, ammonia, bleach, or harsh solvents that can damage cedar.
Lightly dampen a microfiber cloth with the solution and wring it out thoroughly so it is barely damp, not wet. Wipe the exterior using gentle strokes, taking care not to oversaturate the wood. Immediately follow with a dry cloth to remove any remaining moisture.
Step 3: Clean the Interior Cedar Surfaces Carefully
The interior of many cedar chests contains unfinished cedar wood, which absorbs moisture much more easily than sealed surfaces. Because of this, less is definitely more when cleaning the inside.
Use a slightly damp microfiber cloth to wipe interior panels only when necessary. Avoid saturating the wood or allowing water to sit on the surface. For routine cleaning, a dry cloth or vacuuming is often enough to keep cedar-lined chests looking their best.
Step 4: Eliminate Musty Odors and Stale Air
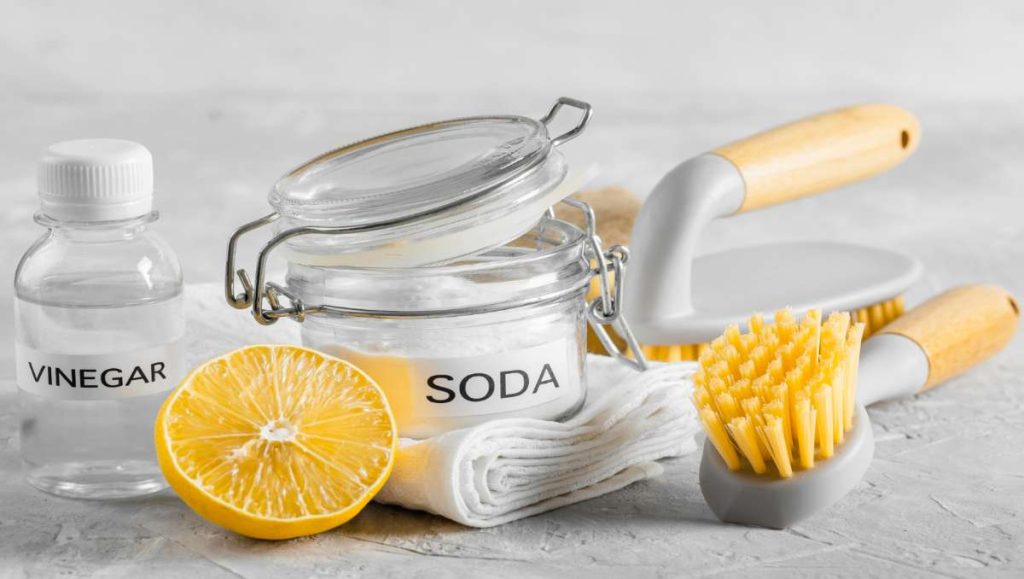
Over time, cedar chests can develop stale smells, especially when they remain closed for long periods. To absorb odors, place an open container of baking soda inside the chest for several days. If smells persist, lightly wipe the interior with a cloth lightly dampened with a diluted white vinegar solution (for example, about 1 part vinegar to 3–4 parts water). Avoid soaking the wood. Afterward, allow the chest to air out thoroughly so any residual moisture and vinegar odor can fully dissipate.
Step 5: Restore Cedar’s Natural Aroma
If your cedar chest no longer has its signature scent, the aromatic oils near the surface may have become sealed off or depleted over time. Lightly sand the interior cedar surfaces using 180 to 220- grit-sand-paper, always sanding with the grain rather than against it. Gentle sanding removes the top layer of oxidized wood and exposes fresh aromatic oils underneath.
If additional fragrance is desired, consider adding untreated cedar blocks or sachets designed specifically for cedar storage chest. If using cedar essential oil, make sure it is 100% pure and formulated for wood use, as some synthetic or heavily diluted fragrance oils can leave residues or interfere with the wood’s natural oils. Always apply sparingly and test on a small hidden area first.
Step 6: Allow the Chest to Dry and Air Out Completely
After cleaning, leave the lid open to allow air circulation throughout the chest. Proper drying helps prevent trapped moisture that could lead to odors, mold growth, or wood damage. In most cases, allowing the chest to air out for several hours is sufficient. If you’ve used any moisture-based cleaning methods, leave it open overnight before returning stored items to the interior.
Removing Stains, Mold, and Discoloration from a Cedar Chest
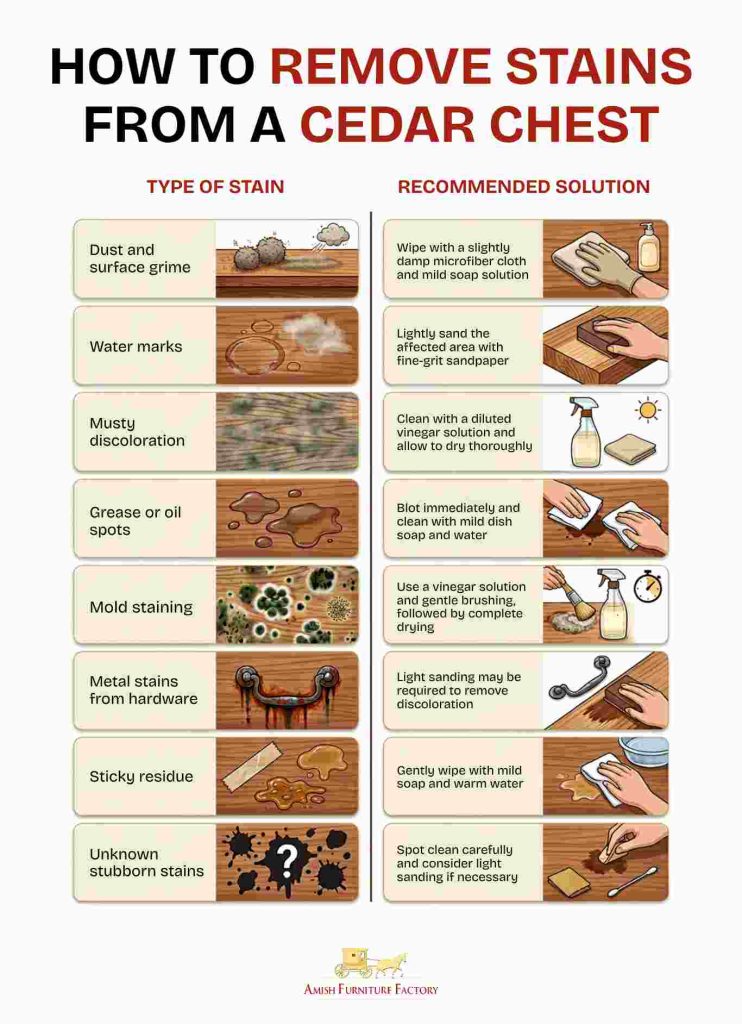
Can stains be removed from cedar wood? Yes, but the method depends on whether the stain is on the surface or has penetrated deeper into the fibers. Surface stains often respond to gentle cleaning, while deeper stains may require careful sanding. To tell the difference, surface stains usually look lighter and more even, while penetrating stains appear darker and more defined. Always test any stain-removal method on a small, hidden area first. For deep or stubborn stains, light sanding is usually safer and more effective than harsh chemical cleaners.
Mold and mildew can develop in damp storage conditions, appearing as black, gray, or green spots and causing a musty odor. If present, move the cedar chest to a well-ventilated area, vacuum loose spores, and wipe affected surfaces with a cloth lightly dampened with diluted white vinegar. Let the chest dry completely with the lid open, and ensure good airflow to help prevent future growth.
The best treatment depends on the type of stain you’re dealing with. Use the table below as a quick reference guide.
Long-Term Maintenance Tips for Cedar Chests
A cedar chest can last for generations when it’s cared for properly. These simple maintenance habits will help preserve the wood’s appearance, aroma, and cedar chest value.
- Store It in the Right Environment: Place your cedar chest in a cool, dry area with stable humidity. Avoid damp spaces and direct sunlight, as excess moisture can warp the wood while UV exposure may fade and dry the finish. Dust the interior and exterior regularly using a soft cloth.
- Maintain Cedar’s Natural Aroma: Open the lid occasionally to promote airflow and keep the interior fresh. If the cedar scent begins to fade, lightly sand the unfinished interior to expose fresh wood. You can also add cedar blocks or sachets to reinforce the fragrance.
- Inspect Hardware Regularly: Periodically check hinges, lid supports, and other hardware for loose screws, rust, or signs of wear. Addressing minor issues early helps prevent larger repairs later.
- Perform Seasonal Maintenance: Inspect the chest every few months for moisture, dust buildup, and fading aroma. A quick seasonal check helps preserve the wood, extend the chest’s lifespan, and keep it looking its best.
Use the checklist below to stay on top of routine cedar chest care throughout the year.

Discover our stunning collection of handcrafted Amish cedar chests to find the perfect blend of timeless beauty and durable storage for your home.
Conclusion: Keep Your Cedar Chest Beautiful for Years to Come
Knowing how to clean a cedar chest properly helps preserve both its beauty and functionality. By using gentle cleaning methods, minimizing moisture exposure, and avoiding harsh chemicals, you can safely remove dust, odors, and stains without damaging the wood.
Cedar’s natural oils are one of its greatest strengths. They help protect stored belongings while giving the wood its distinctive aroma. With regular maintenance and occasional refreshing, your cedar chest can continue serving as a beautiful and practical storage piece for decades to come.
Frequently Asked Questions
What is the best way to clean an old cedar chest?
The best way to clean an old cedar chest is to vacuum away dust, wipe surfaces with a lightly damp microfiber cloth and mild soap solution, and avoid excessive moisture. For older chests, gentle cleaning methods help protect the wood and preserve its natural oils.
What should you not put in a cedar chest?
Avoid storing damp clothing, wet linens, plastic containers that trap moisture, or strongly scented products that can transfer odors. Moisture is one of the biggest threats to cedar wood and can lead to mold or mildew growth.
How to make cedar look new again?
Lightly sanding the cedar with fine-grit sandpaper can refresh its appearance and restore its natural aroma. Cleaning away accumulated dirt and dust also helps reveal the wood’s original beauty.
Should you oil the inside of a cedar chest?
In most cases, the interior of a cedar chest does not need oil. Applying oils or finishes can reduce cedar’s natural aromatic properties. If you want to enhance the scent, light sanding or cedar oil products specifically designed for cedar storage are typically better options.